Creating a New Ledger in Banktivity
To jump to the section about creating a new ledger on your iPhone or iPad, view the Banktivity for iOS instructions. Otherwise, you can continue below for macOS.
To get started using Banktivity, the first thing you will need to do is create a ledger. Choose File > New Ledger to start the new ledger assistant:
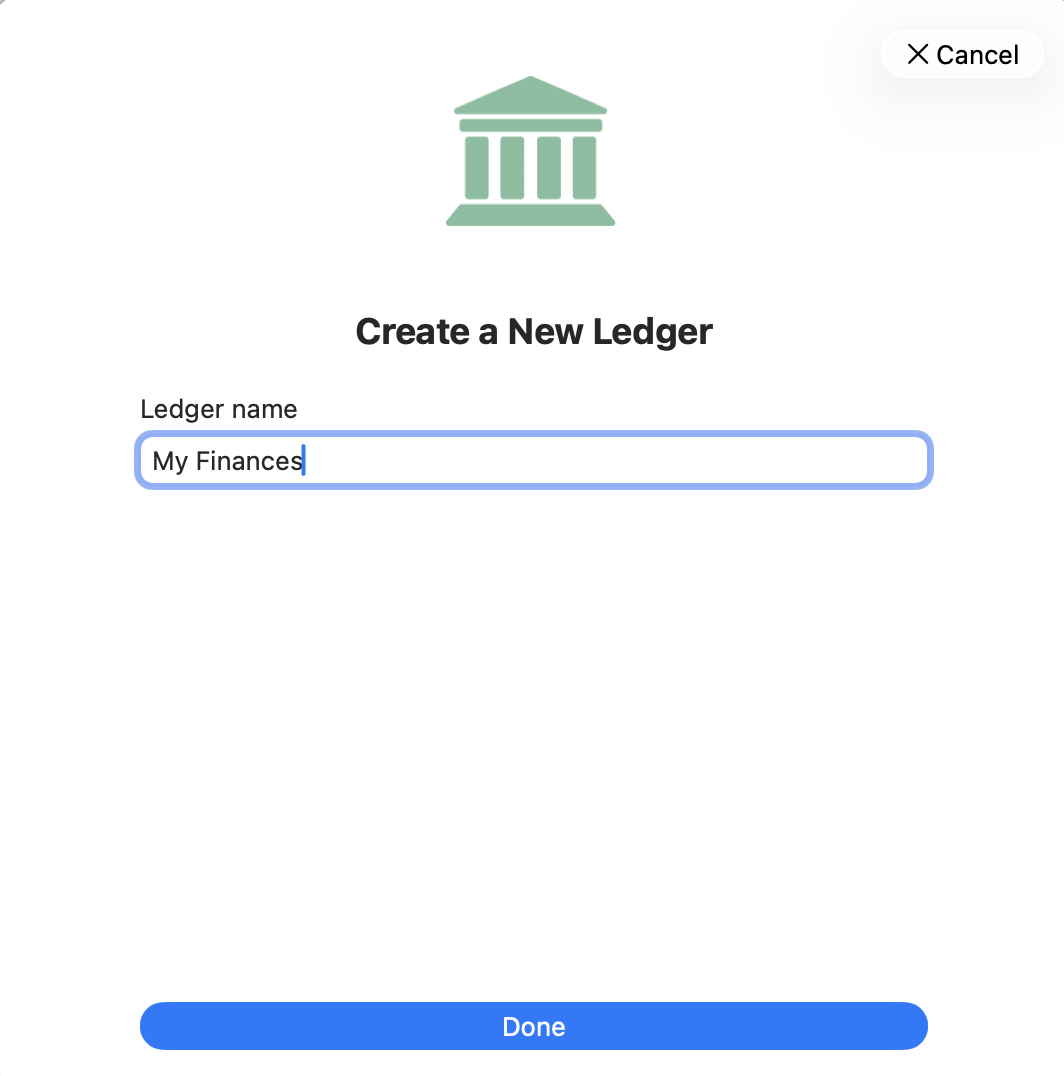
The first thing you will be asked is to choose a name for your new ledger.
Let's Get Started
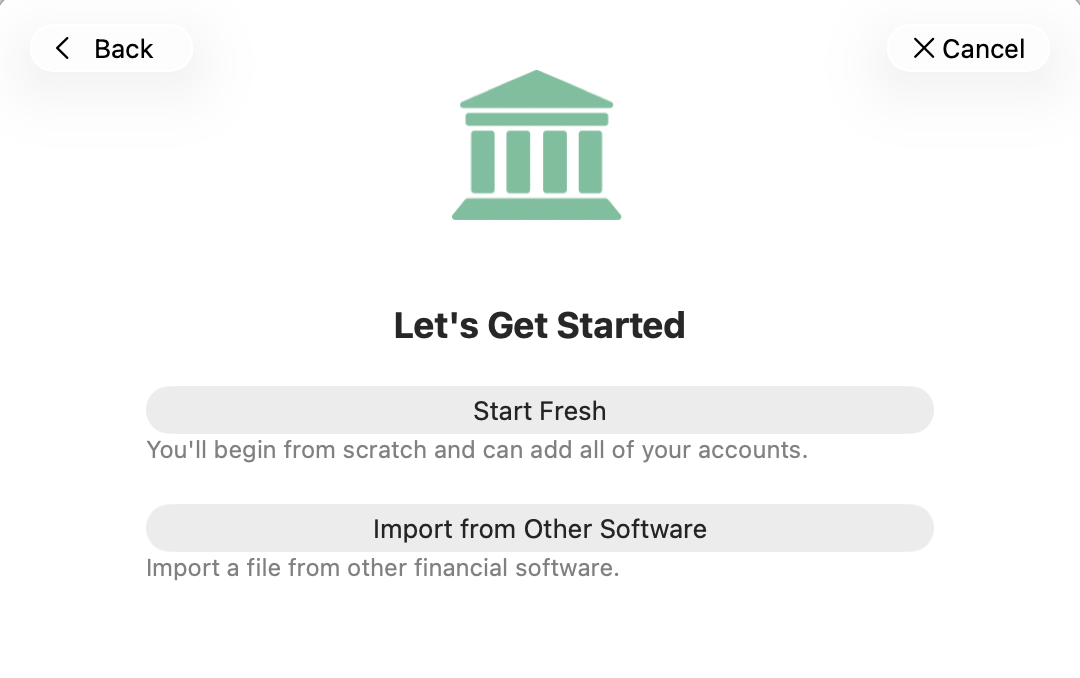
You will be asked to choose between starting fresh or importing from other software. This choice varies from user to user; decide now if you want to start your journey fresh with Banktivity or if you want to import data from your bank or another application.
Starting Fresh
Choosing this option will allow you to start a new blank ledger, and you will be asked how you want to add accounts.
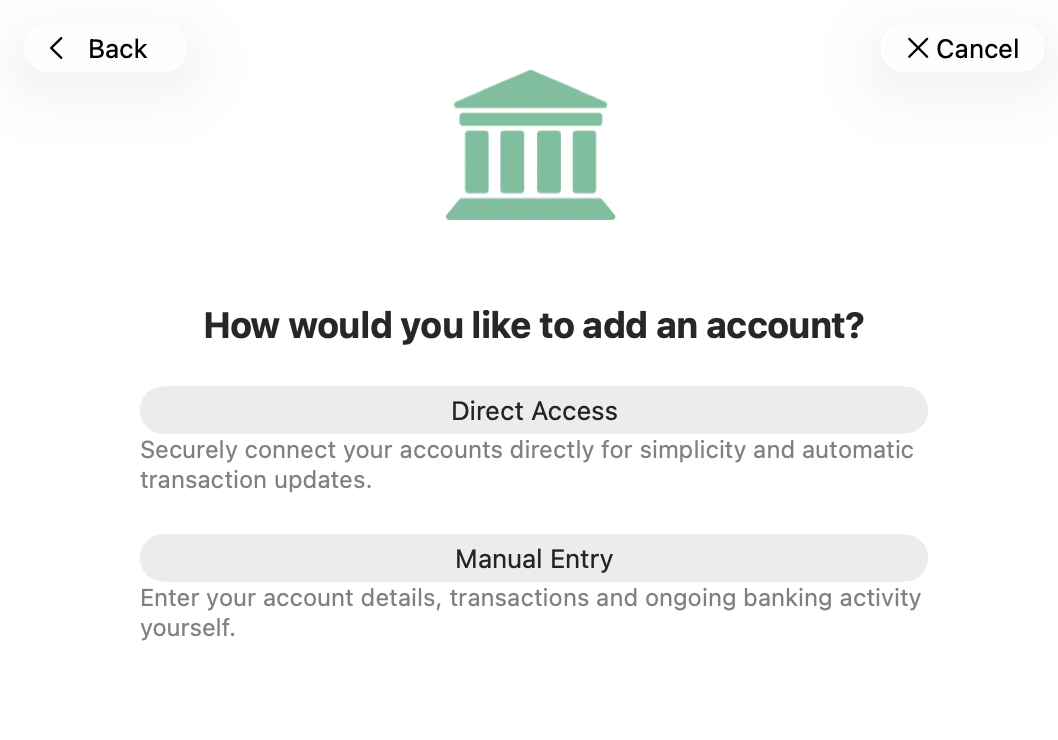
You can still use exported files from your banks or other software to populate the transaction data for your accounts later using our import options.
After each account that you add, you will be given the option to finish adding accounts or to set up another account.
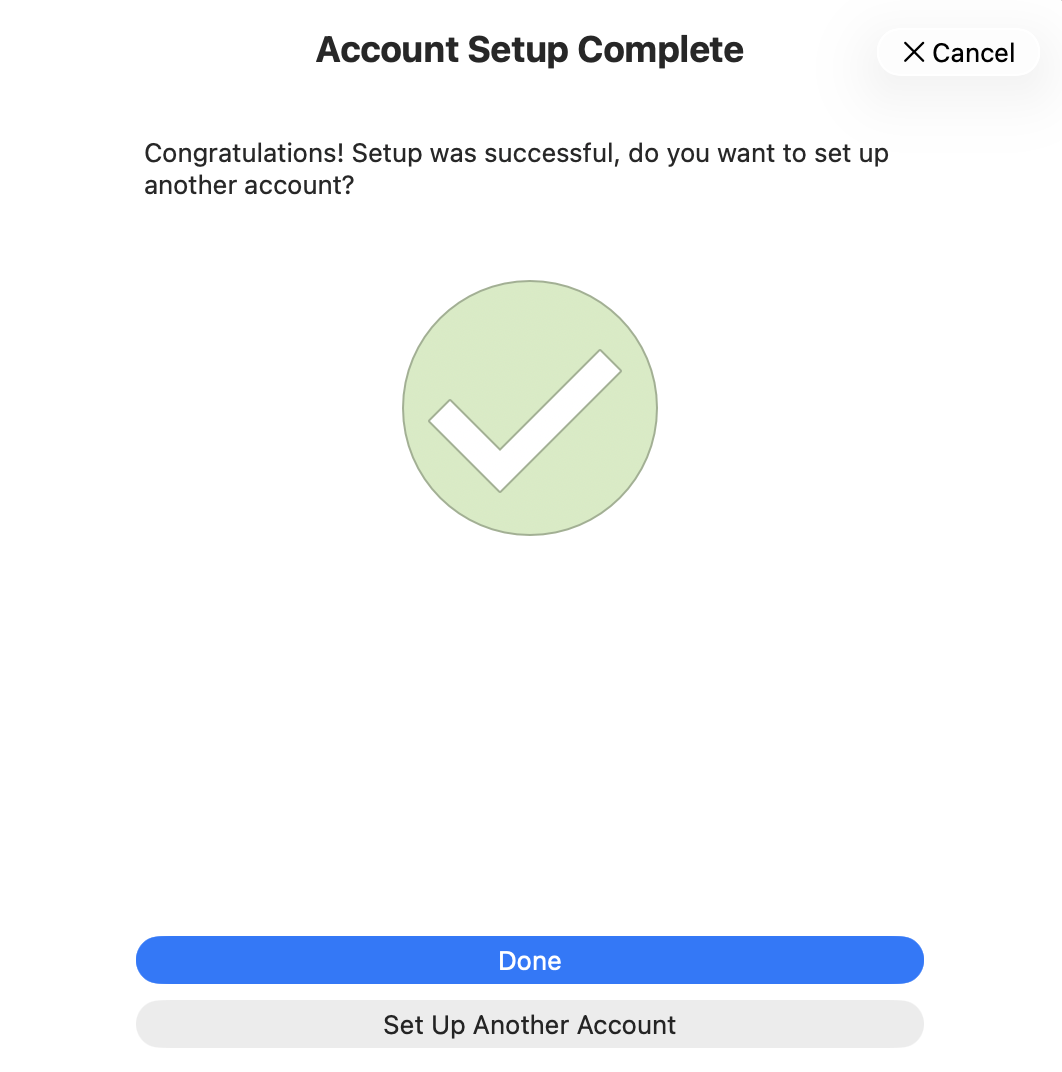
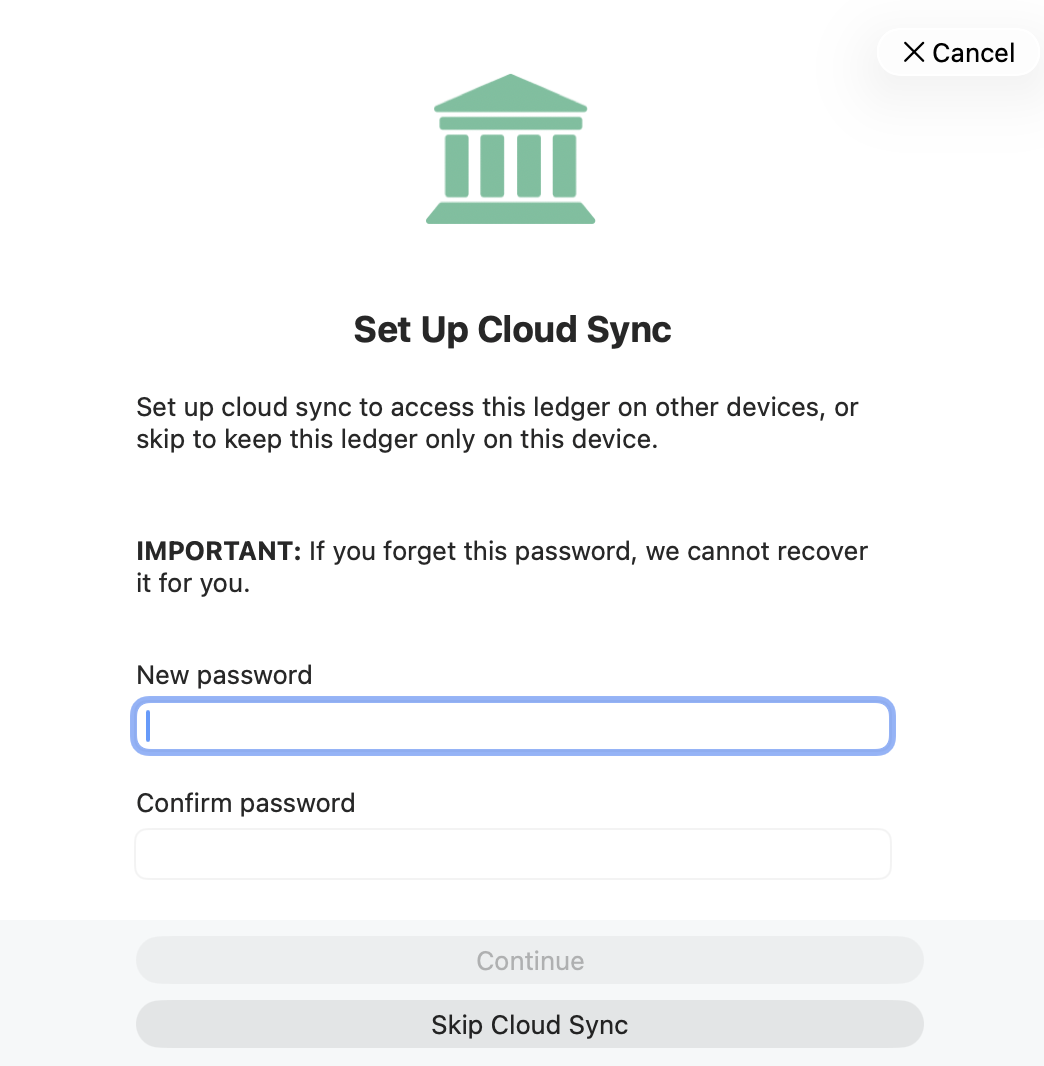
Eventually, you will choose Done and be asked if you want to set up Cloud Sync. You will need to enter a new sync password and re-enter it before continuing. Alternatively, you can simply skip Cloud Sync.
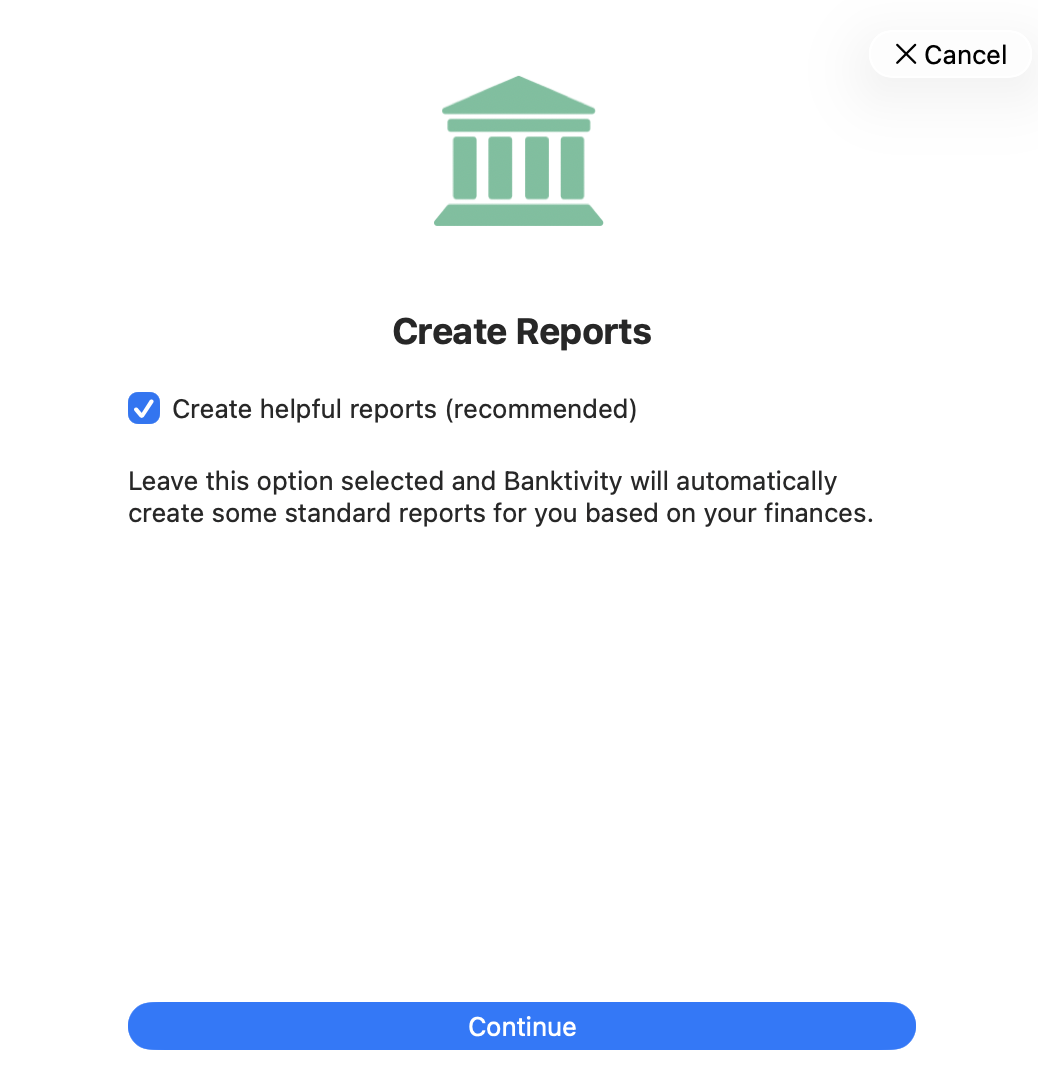
Finally, Banktivity will ask you if you want to create some default reports.
Importing from Other Software (macOS)
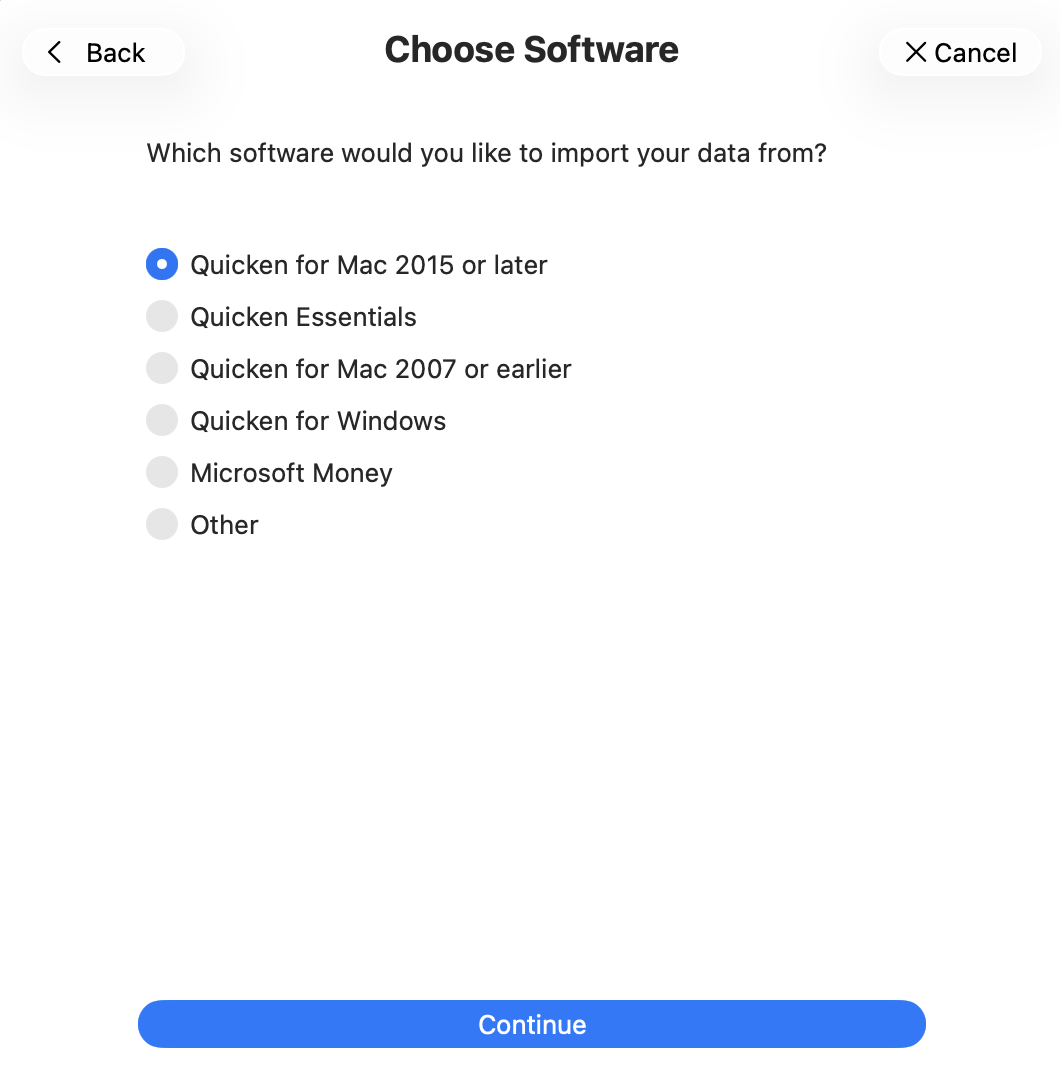
Select from the available options to create a new ledger from an import file.
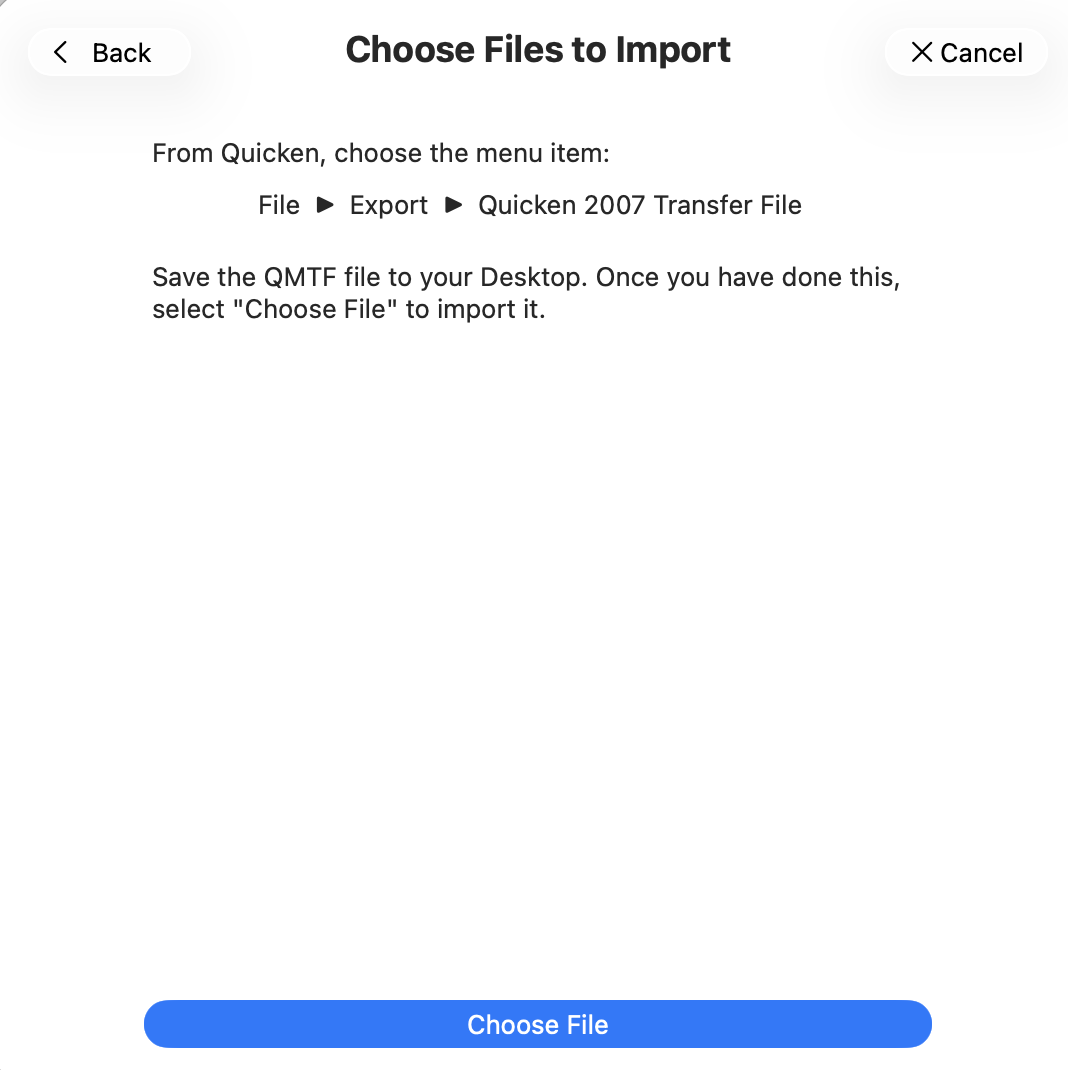
You will see a similar "Choose File" window regardless of which initial option you chose.
Quicken for Mac 2015 or later and Quicken Essentials:
- Launch Quicken.
- Review your category names. If any names are longer than 55 characters, please abbreviate them (they can be restored in Banktivity after the import is complete). Please note that subcategory names, when exported, will include the names of their parent categories in the following manner:
Category:Subcategory1:Subcategory2. This entire set of names must be 55 characters or less (including the colons) to avoid being truncated during the export process. - Choose File > Export > Quicken 2007 Transfer File and save the QMTF file to your Desktop.
- In Banktivity, click "Choose File" and select the QMTF file.
You may notice that some of your account names are truncated. Quicken limits account names to 31 characters when it exports them, but you can rename the accounts during the Banktivity import process.
Quicken for Mac 2007 or earlier:
- Launch Quicken.
- Choose File > Export > To QIF and save the QIF file to your Desktop.
- In Banktivity, click "Choose File" and select the QIF file.
Quicken for Windows:
- On your PC, launch Quicken.
- Open any closed accounts.
- Export your data to a QIF file. Since the export command may vary between different versions of Quicken, consult their documentation for help locating this command. All of your Quicken data should be saved to a single file if possible, but the importer will accept multiple files if necessary. If you have a choice of "Strict" vs. "Loose" QIF formats, use "Loose." Do not choose any options labeled "for Mac."
- Copy the QIF file or files to your Mac's Desktop using a flash drive, network transfer, cloud storage, or email attachment.
- In Banktivity, click "Choose File" and select the QIF file. If you have multiple QIF files, Shift-click to select them all at once.
Microsoft Money:
- On your PC, launch Money.
- Open any closed accounts.
- Export each account to a QIF file. Because the export command varies between versions of Money, consult their documentation for assistance. If given a choice, choose the "loose" format. Make sure to name each QIF file after the account it came from—if the account names do not match exactly, errors may result in the imported data (particularly with transfers between accounts).
- Copy the QIF files to your Mac's Desktop using a flash drive, network transfer, cloud storage, or email attachment.
- In Banktivity, click "Choose File" and Shift-click to select all the QIF files at once.
Other software:
- Launch your other financial program.
- Open any closed or hidden accounts (if your software lets you close or hide accounts).
- Export your data to a QIF file. Consult your software's documentation for help locating the export command. Save all data to a single file if possible, though the importer accepts multiple files.
- If your financial program does not run on a Mac, copy the QIF file or files to your Mac's Desktop via a flash drive, network transfer, cloud storage, or email attachment.
- In Banktivity, click "Choose File" and select the QIF file. If you have multiple QIF files, Shift-click to select them all at once.
Complete the import
Once you have chosen the file(s) to import, Banktivity will display a list of all available accounts:
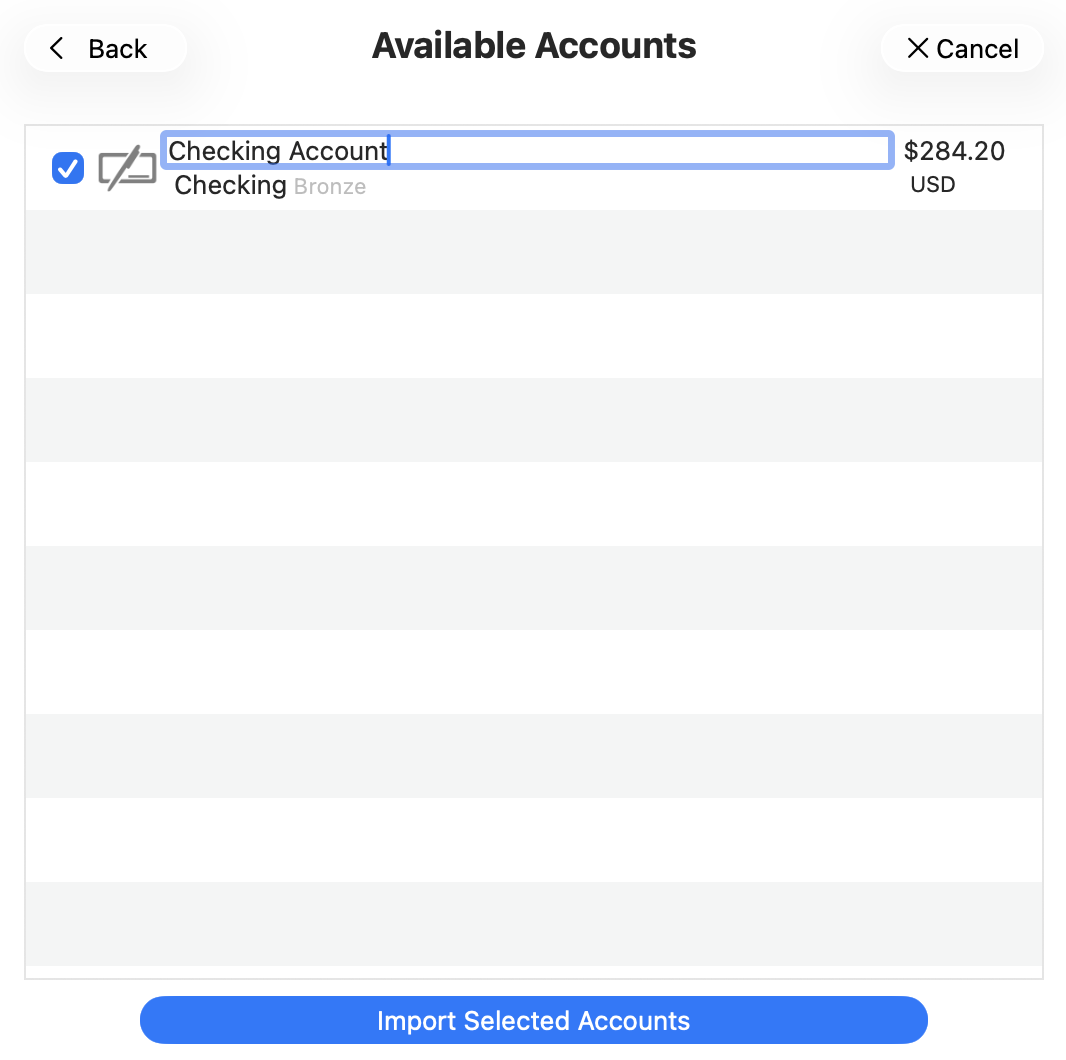
Check off the accounts you wish to use in Banktivity. You can rename an account by clicking on its name, change the account type by clicking the default type and choosing an alternative from the drop-down menu, or change the currency. Once configured, click "Import Selected Accounts." If Banktivity cannot recognize the dates in the file, you will be prompted to choose a date format.
When importing multiple QIF files, Banktivity will process one file at a time. You will be asked to configure accounts for each file in succession, rather than selecting them all in the same window.
Creating a New Ledger in Banktivity for iOS
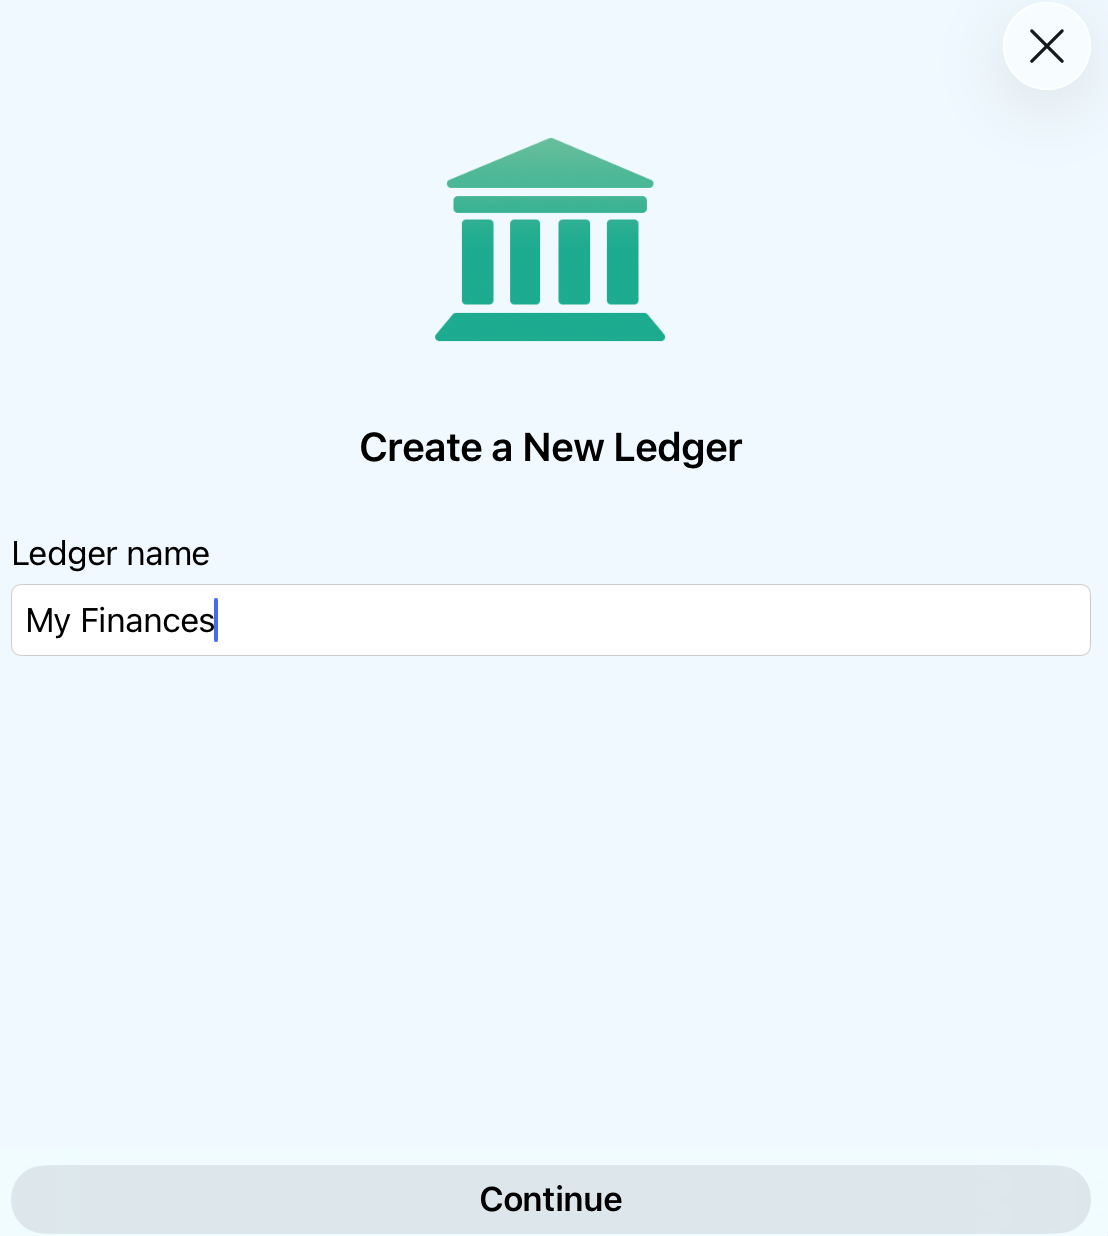
Tap on New Ledger from the Organizer to start the ledger assistant:
The first thing you will be asked is to choose a name for your new ledger.
Let's Get Started (iOS)
You will be asked to choose between starting fresh or importing from other software. Decide if you want to start fresh with Banktivity or import an export file from your bank or another application.
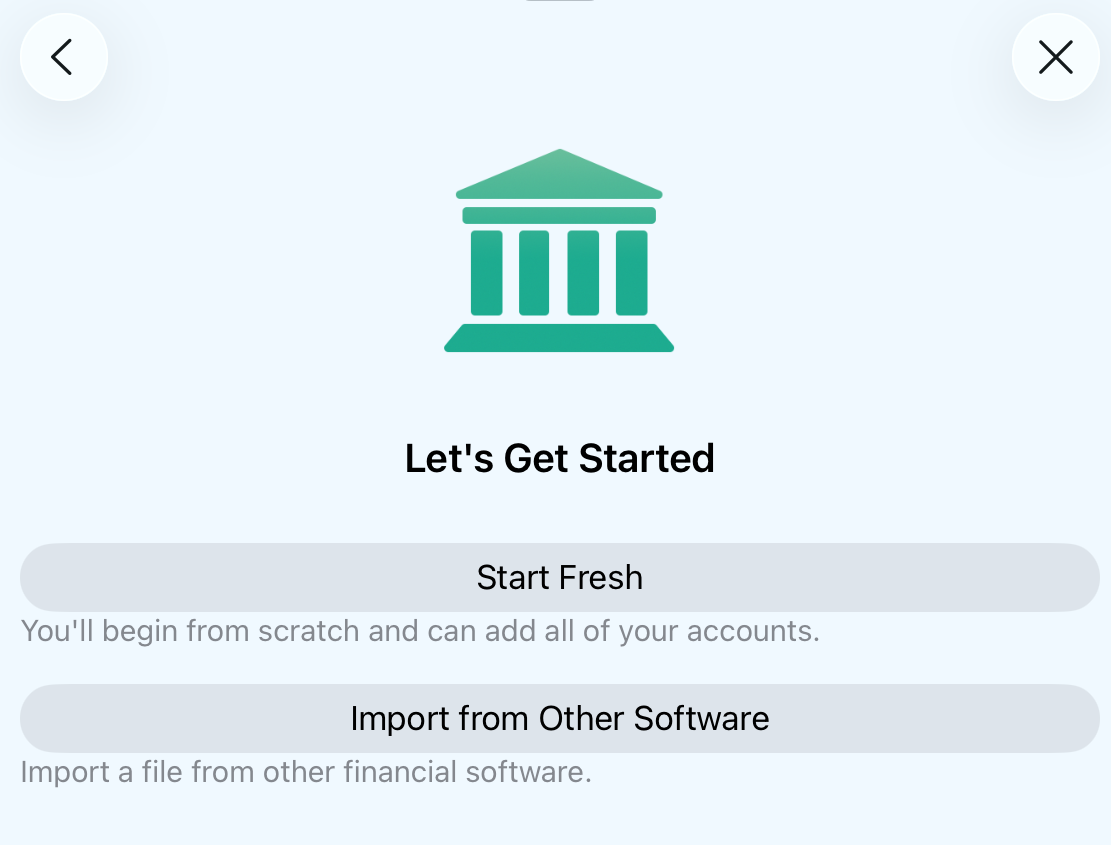
Starting Fresh
Choosing this option will allow you to start a new blank ledger, and you will be asked how you want to add accounts.
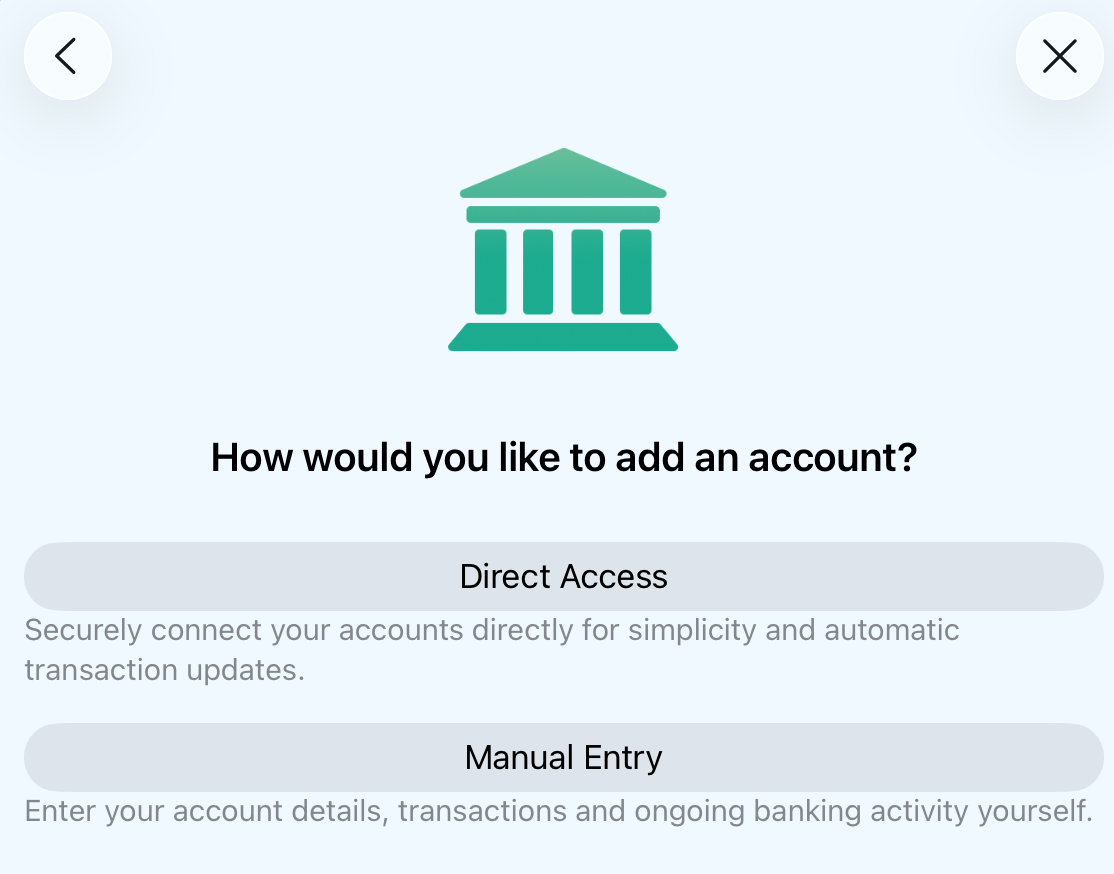
You can still use exported files from your banks or other software to propagate transaction data later using our import options.
After each account that you add, you will be given the option to finish adding accounts or to set up another account.
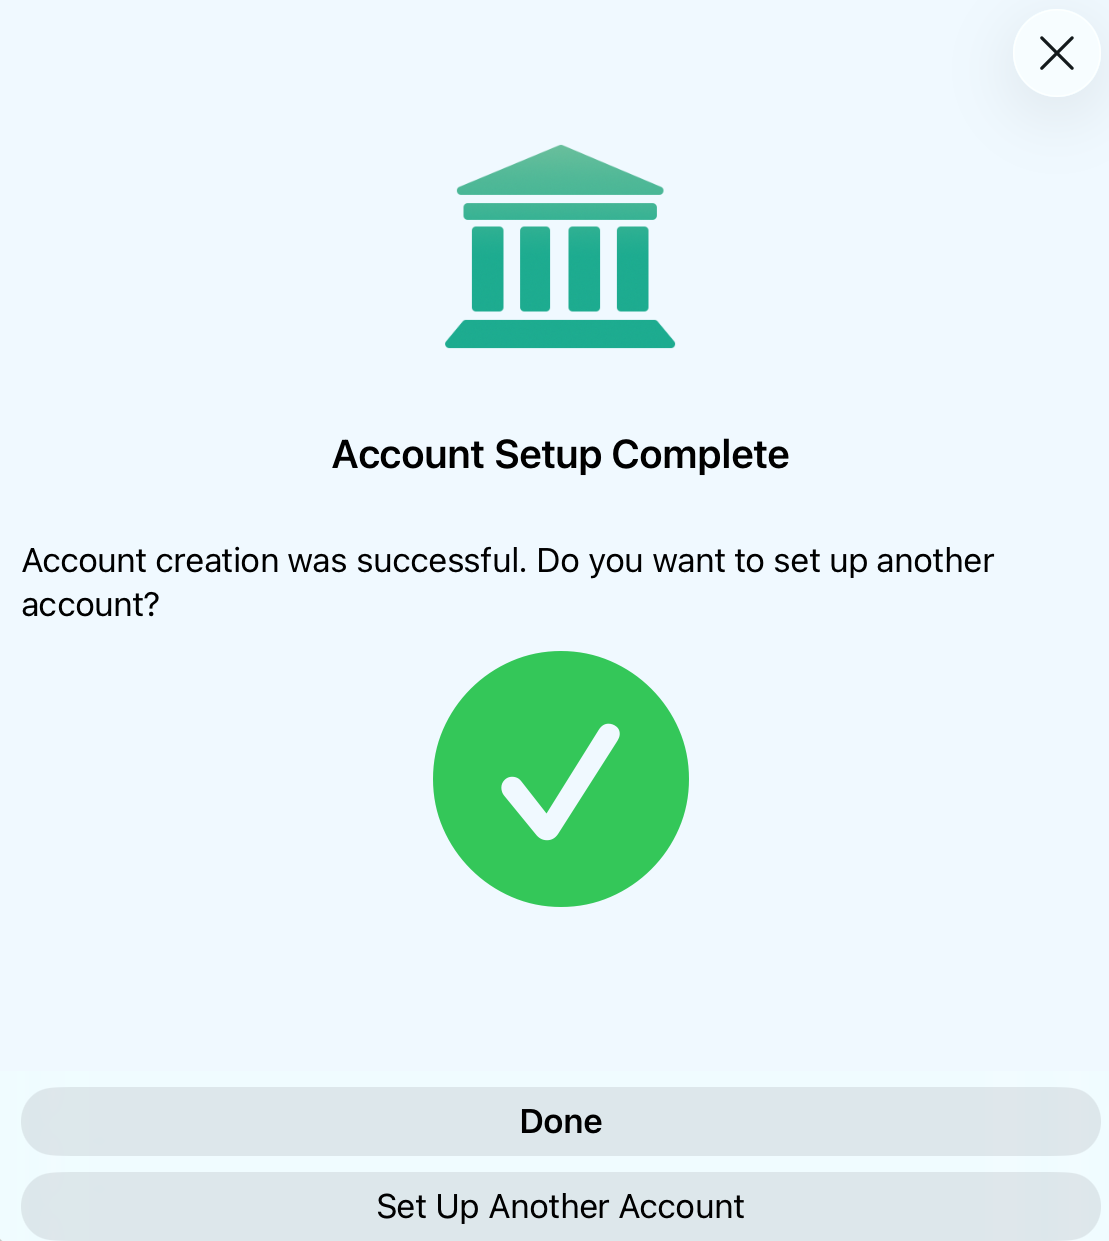
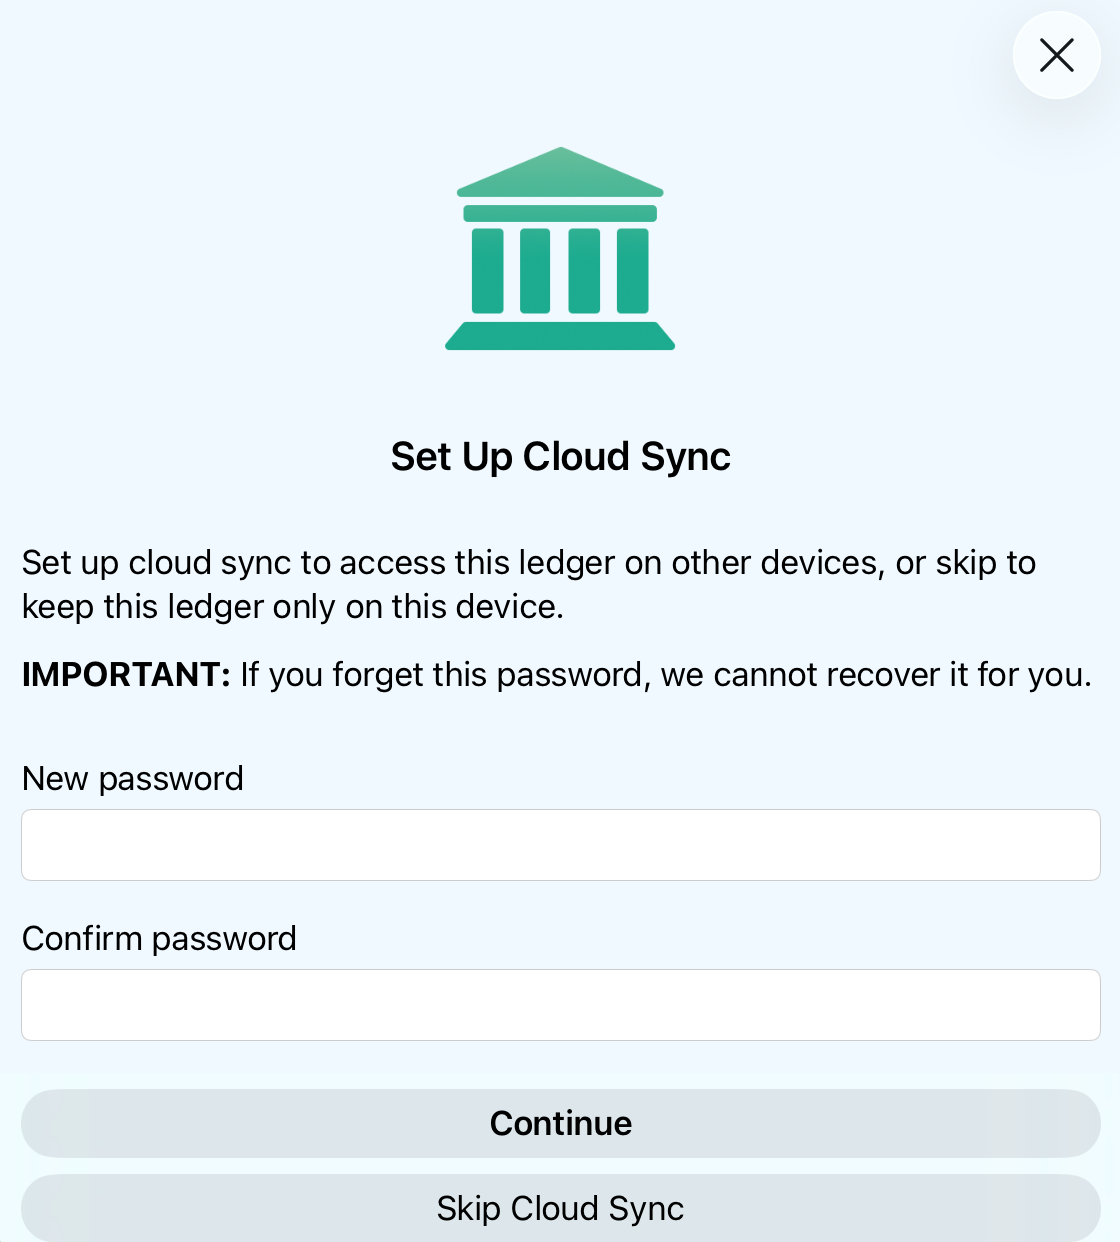
Eventually, you will tap Done and be asked if you want to set up Cloud Sync. You will need to enter a new sync password and re-enter it before continuing. Alternatively, you can skip Cloud Sync.
Importing from Other Software (iOS)
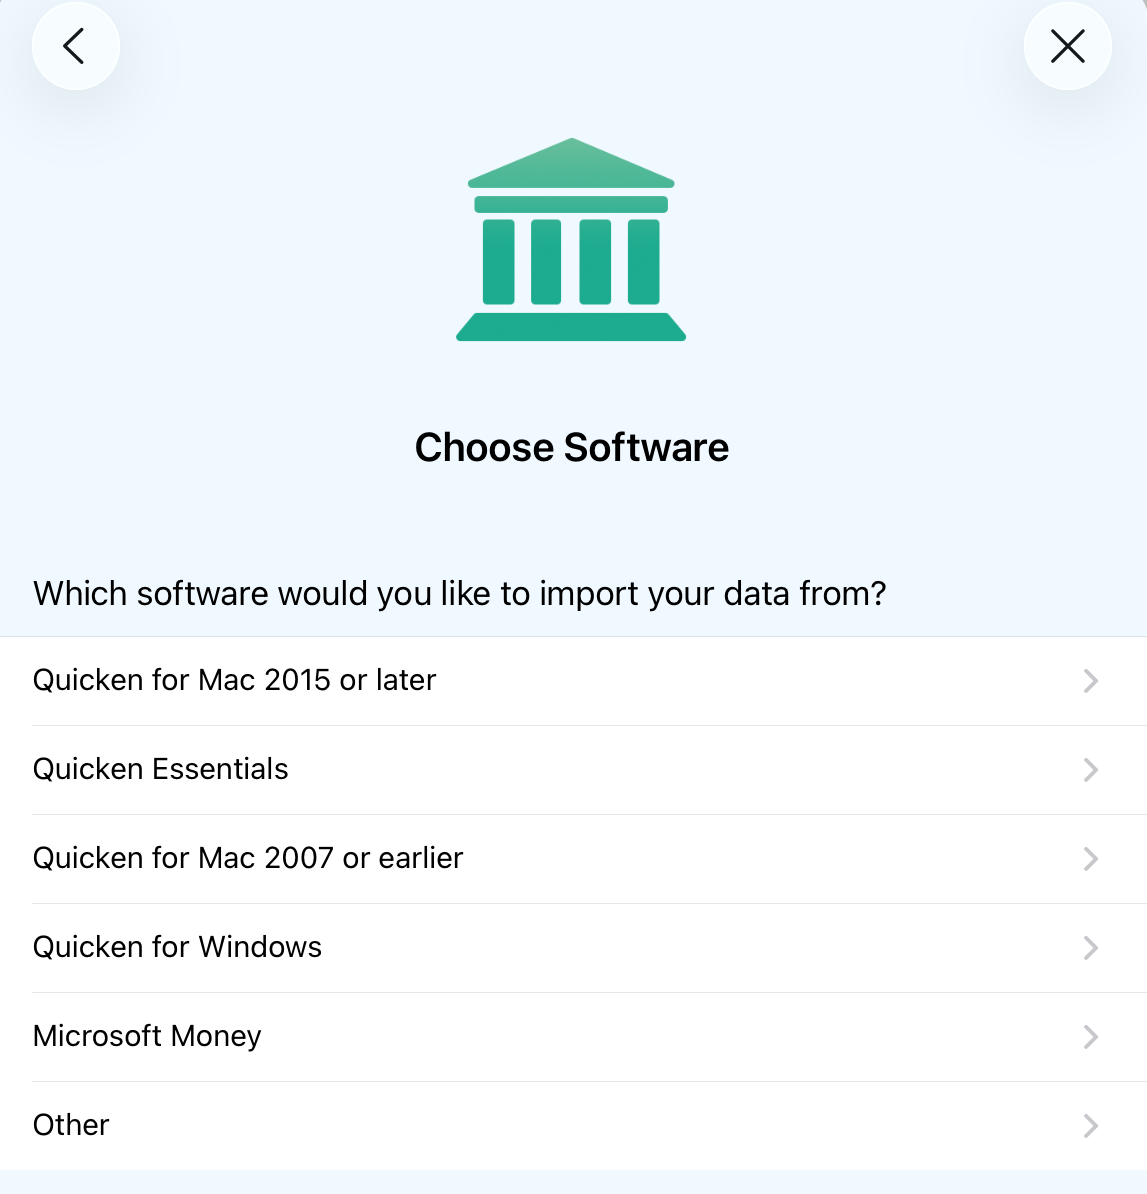
Select from the available options to create a new ledger from an import file.
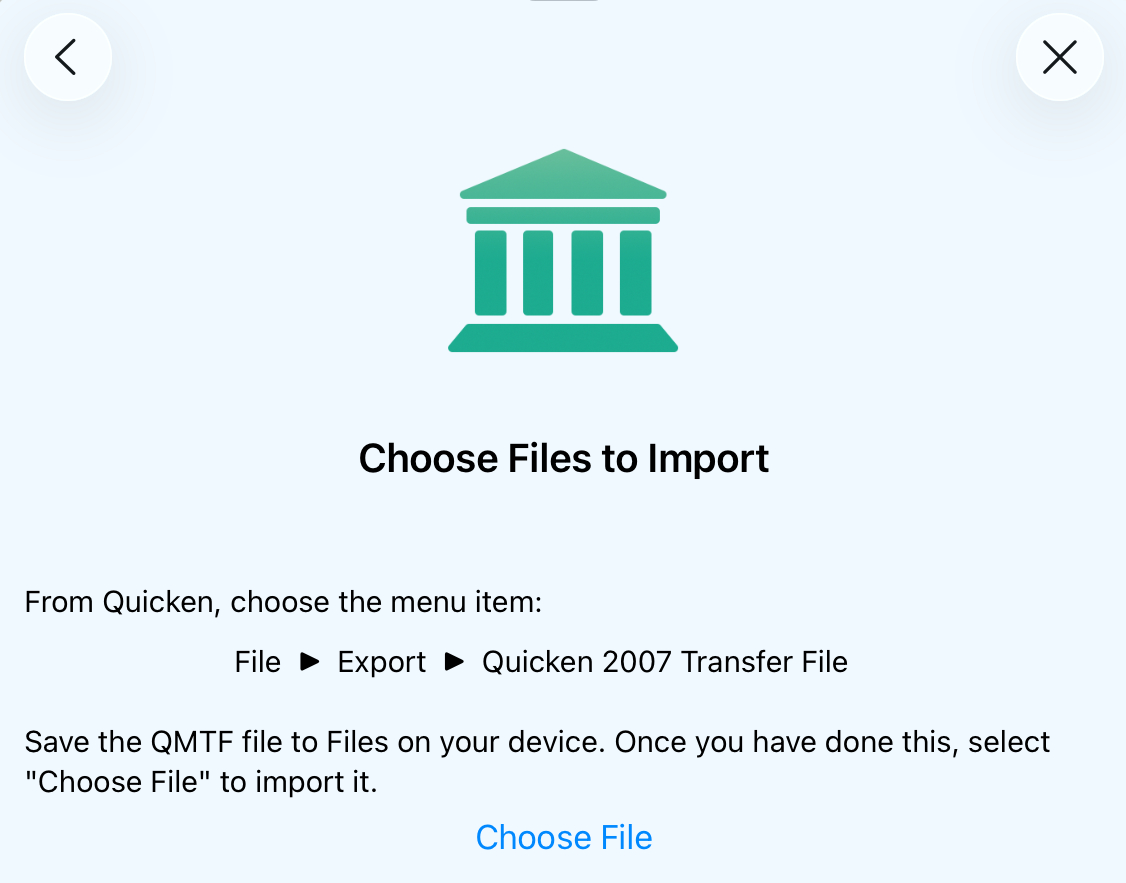
You will see a similar file selection window regardless of which initial option you chose.
Quicken for Mac 2015 or later and Quicken Essentials:
- Launch Quicken on your Mac.
- Review your category names. If any names are longer than 55 characters, please abbreviate them. Subcategory names, when exported, will include parent category names formatted as:
Category:Subcategory1:Subcategory2. This entire string must be 55 characters or less (including colons) to avoid being truncated. - Choose File > Export > Quicken 2007 Transfer File and save the QMTF file.
- Transfer the QMTF file to your iOS device (via AirDrop, iCloud Drive, or Email). In Banktivity for iOS, tap "Choose File" and select the QMTF file from the Files app.
You may notice that some of your account names are truncated. Quicken limits account names to 31 characters when it exports them, but you can rename them during the Banktivity import process.
Quicken for Mac 2007 or earlier:
- Launch Quicken on your Mac.
- Choose File > Export > To QIF and save the file.
- Transfer the QIF file to your iOS device (via AirDrop, iCloud Drive, or Email). In Banktivity for iOS, tap "Choose File" and select the file from the Files app.
Quicken for Windows:
- On your PC, launch Quicken.
- Open any closed accounts.
- Export your data to a QIF file. Save all data to a single file if possible. If you have a choice of "Strict" vs. "Loose" QIF formats, use "Loose." Do not choose options labeled "for Mac."
- Transfer the QIF file(s) to your iOS device using cloud storage (like iCloud Drive, Dropbox, or OneDrive) or send them as an email attachment accessible on your device.
- In Banktivity for iOS, tap "Choose File" and select the QIF file from the Files app. If you have multiple files, you can select them all within the document browser picker.
Microsoft Money:
- On your PC, launch Money.
- Open any closed accounts.
- Export each account to a QIF file. If given a choice, choose the "loose" format. Make sure to name each QIF file after its matching account name to avoid errors with transfers.
- Transfer the QIF files to your iOS device using cloud storage or an email attachment.
- In Banktivity for iOS, tap "Choose File" and select all the QIF files from your Files app.
Other software:
- Launch your other financial program.
- Open any closed or hidden accounts.
- Export your data to a QIF file. Save all data to a single file if possible.
- Transfer the QIF file or files to your iOS device via cloud storage, AirDrop, or email attachment.
- In Banktivity for iOS, tap "Choose File" and select the files from the Files app.
Complete the import
Once you have chosen the file(s) to import, Banktivity will display a list of all accounts available:
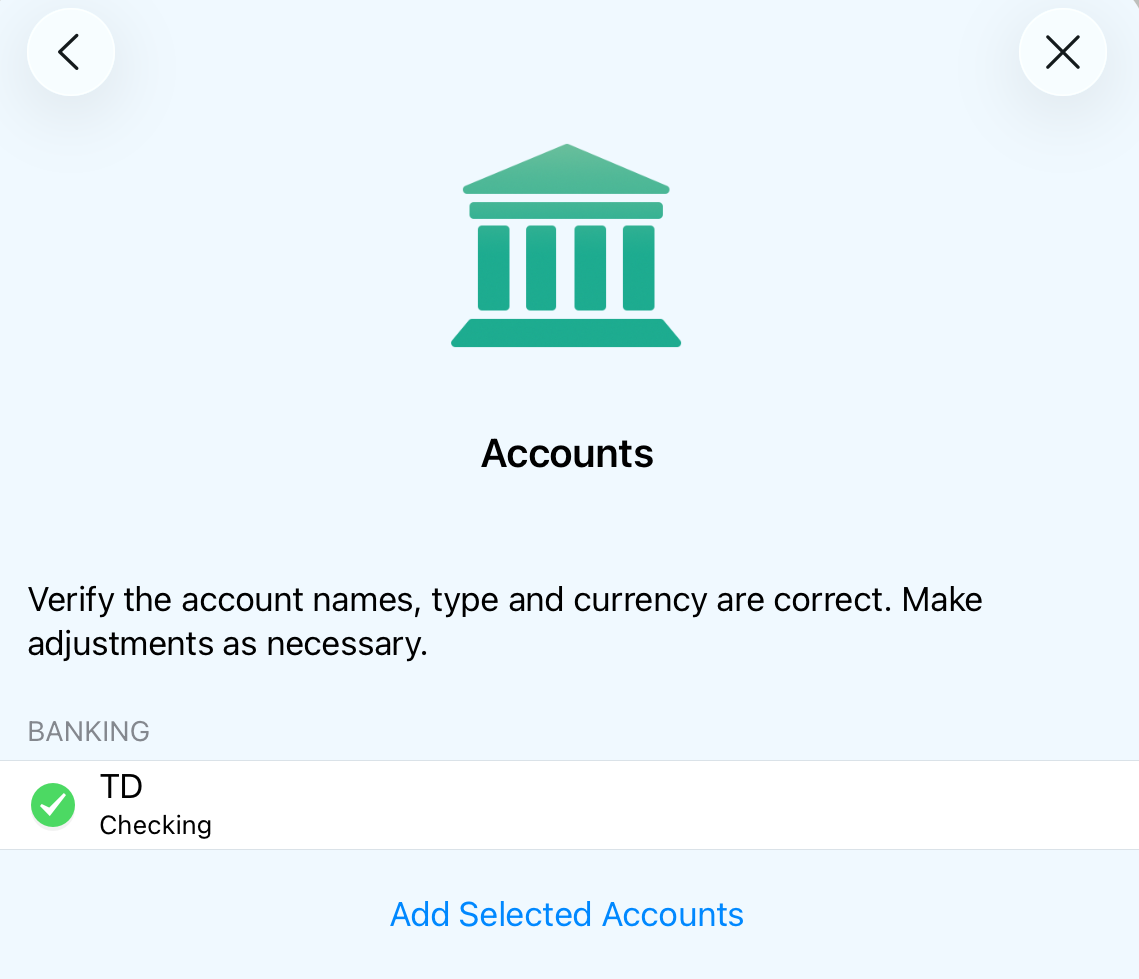
Check off the accounts you wish to use in Banktivity, then tap "Import Selected Accounts." If Banktivity cannot recognize the dates in the file, you will be asked to choose a date format before proceeding.
When importing multiple QIF files, Banktivity will process one file at a time. You will be asked to configure accounts for each file in succession.